Mia has a fascination for these plastic birds that start to sing when you approach. They live in a plastic cage, with plastic flowers on a plastic branch and can usually be found in $2 shops or in the Chinese precinct. Heartful Birds, they're called.
Now, unlike Mia, I wasn't so enthusiastic about them. But when she started to wish that Santa could bring her one just like that, as if it was the best present on earth, I thought to myself: Well, why not? It's inexpensive ($12) and there is something quirky about them ... something I like, almost.
And then, just like that, I knew what to do to turn it into something really special.
I got rid off the ugly packaging, put together the cage into two or three easy steps and I made a birdcage cover, digging into my stash of quirky vintage fabric scraps to match the somewhat retro look.
And finally use my jelly roll. (Moda)
And some of my favourite trimming.
After a couple of hours playing with my bits of fabrics, and wondering how to make a birdcage cover, it looked like this:
With lovely cross stitching details recycled from an old tablecloth picked up at a garage sale.
The top section is made from an old pillow case from Vinnies.
In the end, it is a present I am quite excited about. So cute and a tad quaint too. It goes to show that with a bit of imagination, compromises can go a long way.
I can see Mia pairing it with the Tea set I bought her from T2.
How to:
1: Measure main body of the cage, from the top rim to the bottom. Add 1 inch. This will be the height of your fabric pieces.
2: Measure around the cage. Add one inch. This will be the width you need.
3: Gather your fabrics, cut to measure and play around. I didn't plan ahead but just put together what I thought would work.
4: Sew your pieces with right sides together
You should end up with a tube.
It should fit snugly around the cage like so; not too tight, not too loose.
I wanted the cover to be able to stand on its on next to the cage without collapsing, so I added a lining plus a layer of thin fusible Pellon. (thin thermocollant wadding)
Note: I don't give measurements because chances are, your cage is different from mine or you might want to do this for a real bird. In that case, lining/interfacing might not be appropriate as it could get a little stuffy under there?)
For the lining:
Cut the fabric of your choice to the size of the piece you have just created(the main body)
Cut the fusible wadding a 1/4 inch smaller all around. (this is to avoid bulk at the seam lines) Centre fusible side (usually of grainy aspect) against the wrong side of the fabric and press with hot dry iron, on the fabric side.

Fold your piece in half with right sides together and stitch along the length.
You should now have two tube-like pieces of the same size. Insert tubes into one another with RIGHT sides together.
And stitch along the BOTTOM end of the main body.
Once unfolded it should look like this:
Push lining back inside the main body.
You should have a raw edge at the top
And a nice finish edge at the bottom.
Press.
Top part of the cage:
This part is a bit more tricky; not on the sewing part but on getting your numbers right. Of course, I got mine wrong and ended up having to add trimming at the bottom of the main body. It was a lucky mistake in the end, because I love this addition.
Basically, the top is made of 8 wedges.
And the important bit is that the circumference should be the SAME as your tube (main body). If not you won't be able to sew the two parts, body and top, together properly.
I measured the top,
I did a diagram to work out the size of the wedges.
And add 1/4 of an inch to the sides for seam allowance.
Pin the wedge to the fabric, and cut x8.
Stitch with right side together.
It should look like this:
Measure your circle to make sure it is the same size as your main body. Trim if you need, but it should match nicely.
Folding your circle in 4, cut a small circle at the top, like so:
This hole is to allow for the knob/arm on top of the cage.
Take another piece of fabric and use the circle you've just made as a template to cut another one. So you should now have 2 circles like so:
Stitch the two pieces, with right side together, around the SMALL centre hole. Turn over and press.
Top stitch around the centre hole.
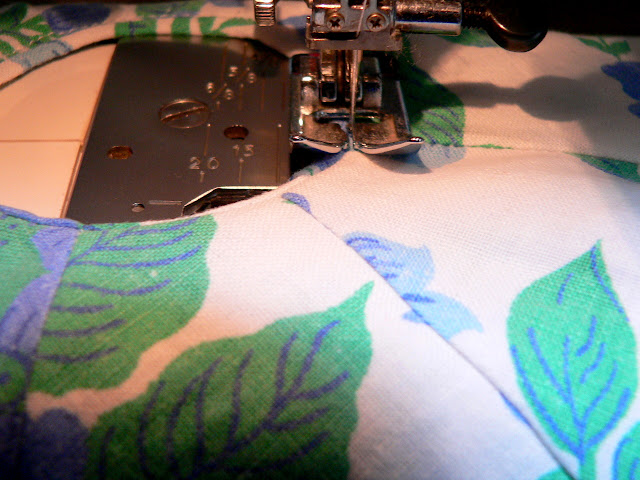
With right side together, align the circle edge with the top edge of main body. If it looks strange, it means you're in the right position. As you sew, you will see that the circle's edge (the top part of the cover) needs hardly any help to align itself with the edge of main body. However, it is a good idea to set your machine on the biggest stitch possible first,(without reversing or stopstitch)to make sure it all fits nicely. If you are happy, stitch again with your usual settings and pull away the first line of stitches.
Zigzag stitch, and ... you're almost done!
As I mentioned, something in my calculations did not end up being quite right and the cover was a little bit (about 3/4 of an inch) too short. I could have left it, but then I remembered I had a beautiful embroidered trimming. So I went on and topstitch it.
et VOILA!
One cheerful, fun Christmas present done!
And one happy bird!


.jpg)