Bitty Baby Floral Pj's Tutorial. Part one: The Shirt
Here's what we're making today:

For this project, you'll need:
- Knit/stretchy/Jersey fabric
- 2 x 5"narrow elastic
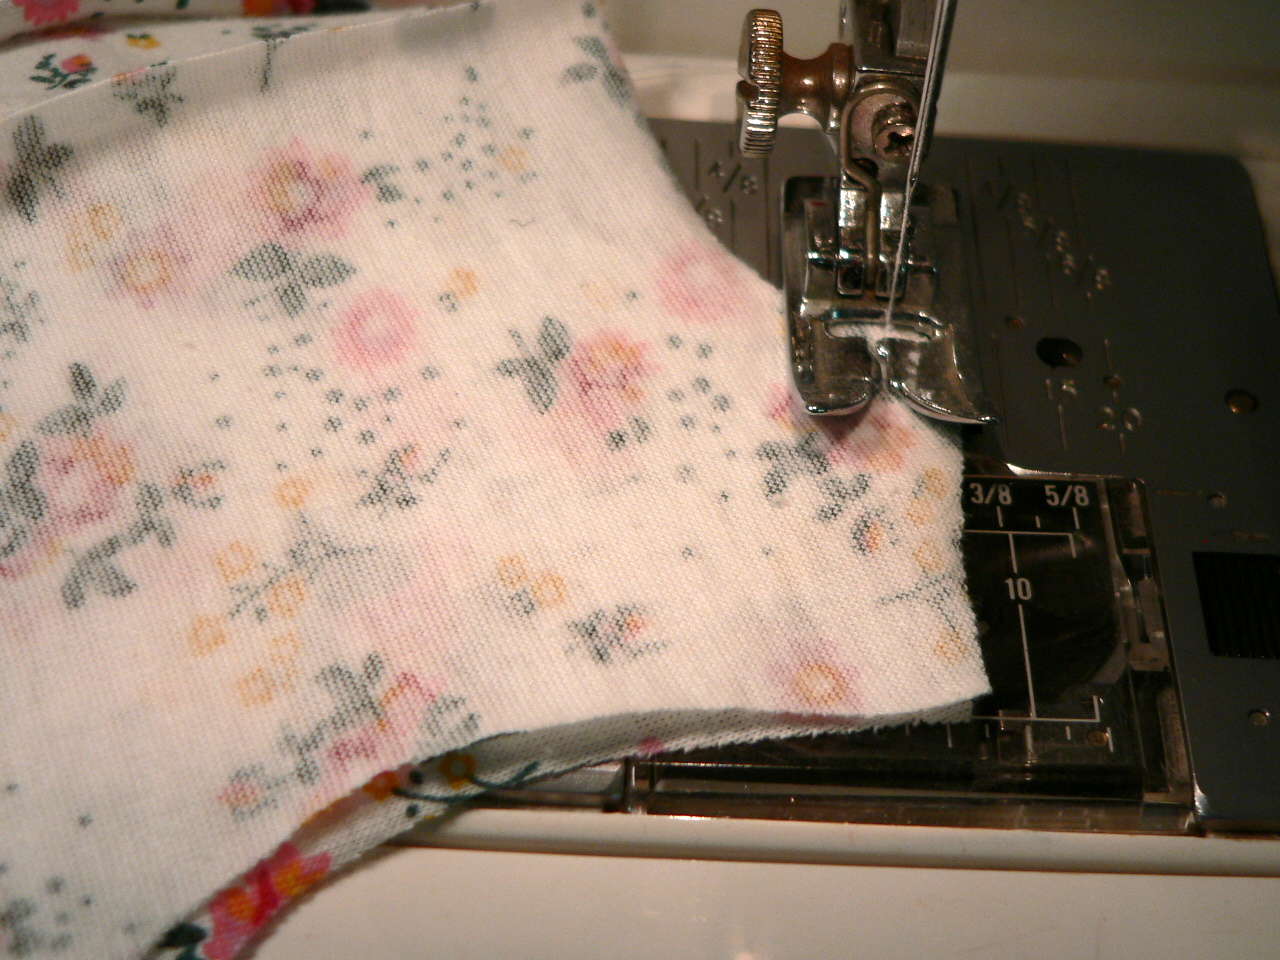
Here's the fabric I've chosen (both from Spotlight- I'll make two pairs of Pj's for Mia's doll). I don't use much stretchy fabric but for this project it was the best option. I've discovered recently that I have a special knit stitch on my machine (hum ... after ten years!) So, please check if you have one and if not, adjust the tension. For tips on sewing with stretchy fabric click here.


Pattern Pieces.
Very simple.
(Please note that the pictures below are not the actual size. Measurements are indicated on the pieces for your reference.)
First, the Front: You will need to cut TWO. (I know it says cut 1 on the pattern. Ignore that. My mistake!)

Now, the Back: you need to cut FOUR.

Now for the Sleeves: Cut TWO

And that's it for the cutting.
So you should have:
 |
| Two Front pieces |
 |
| Four Back pieces |
 |
| Two Sleeve pieces |
 |
| 8 pieces all together. |
Right side together, Join One Front piece to Two Back pieces at shoulders seam:
Zig-zag stich or overlock seams.
Repeat the process with remaining Front piece and two Back pieces.
You should have two assembled blocks looking like this:
 |
| Red dashes=Straight Stitch, Grey Zigzag= Zigzag Stich or Overlock |

Now it's time to assemble these two blocks. With right side together, stitch along the Back opening, all long the neck line:
 |
| Stich along back openings, |
 |
| all along neck line, |
 |
| like so. It is up to you to zigzag stitch or overlock. I didn't bother. Trim excess fabric at corners (See yellow markings). Time to flip inside out and expose the Right Side of the fabric: |

Then, Press:

 |
| Neat neck line and back edges! |
Top Stitch along the same lines. (Neck and back opening)


Time for the Sleeves.
(That's when my camera's battery died, so I had to carry on with my phone camera; )
Fold each piece in two, Right Side out

Stitch along straight folded edge on Right Side of fabric to form a casing for the elastic.
Your casing should be wide enough to allow a small safety pin to guide your elastic through.
(1/4 of an Inch should be good.)


Zigzag-stich elastic at one end, pull elastic and stich the other end. Trim excess elastic. You should have something looking like this:


With Right Sides together match sleeves'raw edge to raw edge of bodice's armholes and stitch. The curves seem to go opposite directions, but follow the one of the armhole; the sleeve will position itself as you sew.

Stitch along underarm and side

View from inside of shirt
and outside: a nice puffed sleeve

It's almost done!
I have chosen to use Velcro strips rather than buttons as it is easier for little hands to manipulate. The velcro strip I had at home was too wide so I simply trimmed it.

Stitch one strip on the Right Side of fabric and one on the Wrong Side, making sure they are aligned at neck line.

Finally, for the bottom edge, I chose to simply overlock. But as you can see, I made the mistake not to test the tension before and the stitches are all ... well they don't look that great ! And I realised one of the needles was unthread too! Since it's for Mia's doll, I've left it like that. Not dramatic but not as neat as it should.

Your Pyjamas' top is now completed. Bravo!
So cute! Do have the pattern available for me to download/print?
ReplyDeleteadorable.... my grand daughter would love this for her baby.... is the pattern available for download/print?
ReplyDelete